Taking Photos, Audio & Video for Your Brownfields Projects
On July 11, 2024, EPA held a public webinar called "Brownfields Bootcamp Training: Audio, Video and Photo Tips for Brownfields Projects" to discuss the information included on this page. Please find the recording and transcript below:
- Brownfields Bootcamp Training: Audio, Video and Photo Tips for Brownfields Projects Webinar Recording (mp3)
- Brownfields Bootcamp Training: Audio, Video and Photo Tips for Brownfields Projects Webinar Presentation Slides (pptx)
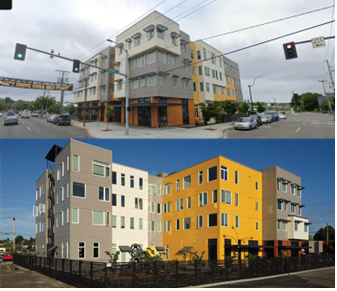
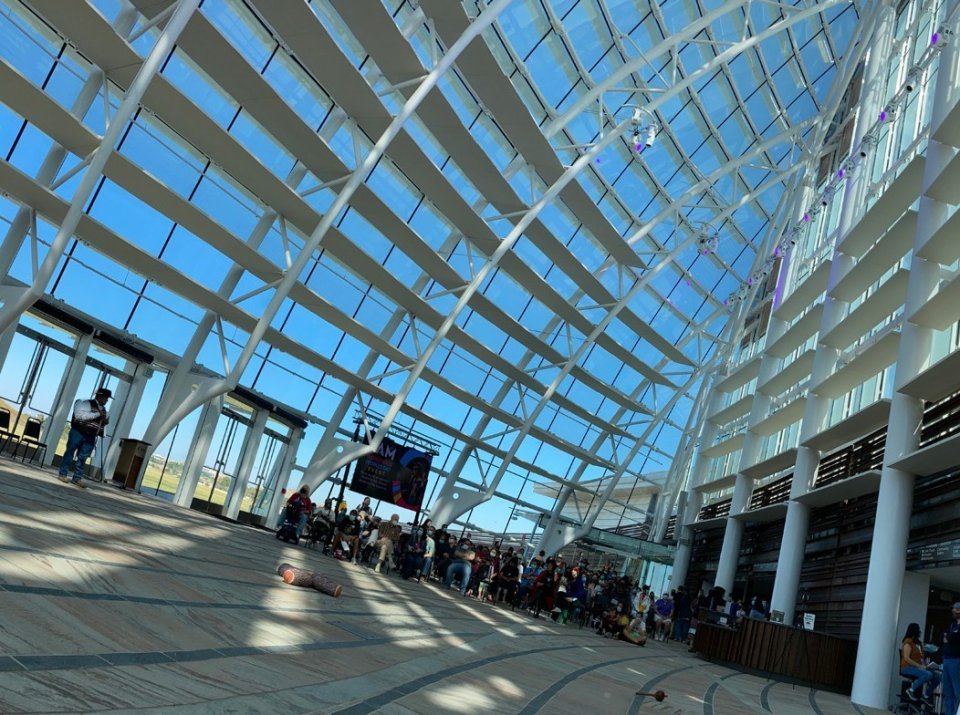
Sharing high-quality photos, audio and videos of your brownfield project will help you engage community stakeholders and keep them up to date on progress. There are plenty of opportunities to create exciting visuals and audio for your project, including documenting public participation events, environmental remediation activities, community visioning sessions, and "before and after" pictures that showcase your community's brownfields revitalization initiatives. From planning your photo shoot to recording audio and video, follow these professional multimedia tips:
General tips for Recording Audio/Video at Brownfield Projects
- Consider how you plan to use your video — will it be for social media? YouTube? Presented at conferences or meetings? While social media (Facebook, Instagram) typically use "Portrait" mode for videos, most other formats use landscape mode in high definition (1920x1080). While landscape video can be cropped for rough conversion into portrait mode, the reverse isn't true. If in doubt, use landscape mode and ensure a minimum resolution of 1920x1080.
- Finalize the "script" and "interview questions," and ensure those who will be delivering it are comfortable with the material so they can deliver it smoothly on-camera without struggling to remember word or key points. Establish familiarity and comfort before attempting to film.
- Whether filming indoors or outdoors, try to find a location as free as possible from overpowering background noise (e.g., people passing by/talking in hallways, HVAC/fan systems turning on and off, hums from electronics and appliances, vehicle horns/sirens/traffic sounds from outside). If there are strong winds outside, be sure to use foam microphone covers as audio can easily be ruined by wind.
- If possible, use natural light to illuminate the front of subjects so they are well lit and visible (unless you have supplemental lights or reflectors). (from Office of Multimedia guidelines)
- Avoid intense reflections of sunlight. Make sure the subject is not blown out by a bright background.
- If recording indoors, use natural light as much as possible to avoid the under-eye shadows caused by overhead fluorescent lights typical in office building environments.
- Make sure you aren't getting a reflection off your subject's eyeglasses. If eyeglasses are causing glare, have the subject remove them if possible.

- In the camera's settings, ensure that you are filming at resolution of no less than 1920x1080 (standard HD). You can use a frame rate of 30 frames per second (FPS) and audio recording in WAV or AAC format if those options are available. MP4 is a fine output format. If using an iPhone, .MOV is also an acceptable file format.
- When filming a presenter, have the subject take up most of the frame in the shot. In other words, a close-up of the upper third of the speaker is much better looking than a full body shot.
- Do not "center" the subject in a frame; choose a third of the frame on the left or right side to position the speaker and choose a pleasant background for the remaining two-thirds.
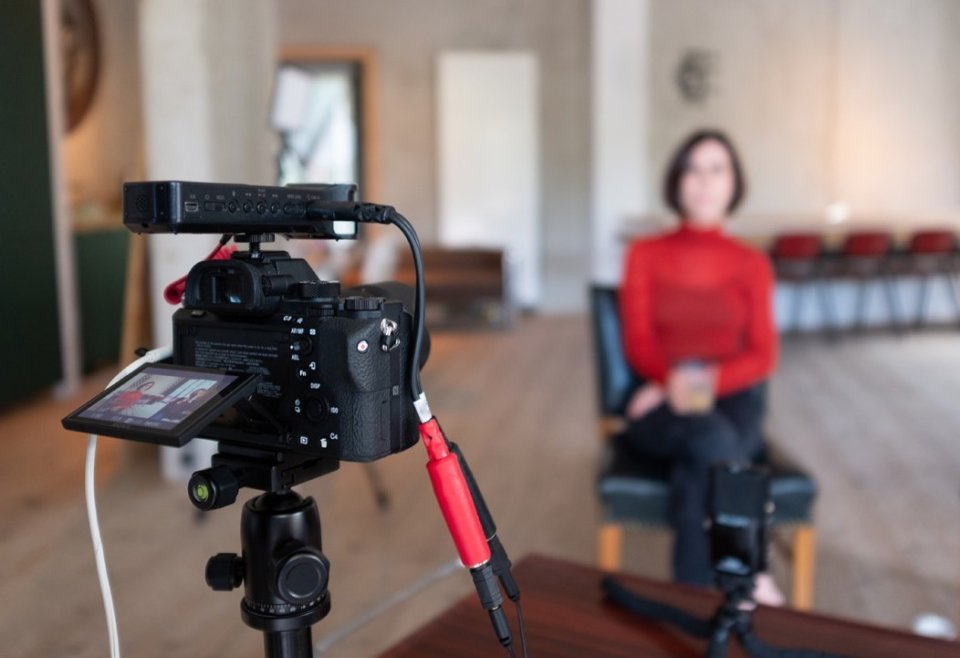
- Use a wired or wireless lavalier microphone attached to the speaker or a boom mic held directly above the subject out of frame (hide microphone cables). The audio should be recorded at the location of the subject, not at the location of the camera. Poor audio will ruin any recording. If only handheld mics are available, have the subject hold the mic and speak into it as comfortably as possible.
- The videographer (or sound person, if different from videographer) should always wear headphones that tell them what the camera or audio recorder is hearing — that way they won't be unpleasantly surprised when the footage is played back later.
- If recording voiceovers (VOs) or supplemental audio separately, you can use a phone voice recorder app (available for both iPhones and Androids) in a quiet recording environment. Keep the phone close to the speaker. In the app's settings, make sure to turn OFF noise reduction and set the recordings to the highest quality settings (such as "WAV" or "AAC," 44Khz, mono). Avoid the .m4a file format. Noise reduction can be performed in post-production. If possible, take a 30-second sample of just the ambient background noise, which will make post-production noise reduction much more efficient.
- If you're going to do a narrated walkthrough of a site, have the speaker wear a lavalier mic. If recording the video on a phone, use a hand-held phone mount to steady/stabilize the shot. Keep fingers out of the way. No rapid pans or zooms.
- Take a lot of video footage and pictures while on site, as it is better to have too much footage/imagery to choose from than not enough.
- Plan to use a combination of "B-roll" video and still images in your video.
- If you're adding music in post-production, balance music levels so you can hear narration and sound bites.
Other features of a successful video (from Office of Multimedia guidelines)
- Appropriate length depending on how you will share it. Some guidelines:
- Facebook — aim for 30 seconds/up to 1 minute.
- YouTube — aim for 30 seconds/up to 1:30 minutes.
- Instagram — aim for 15 seconds/up to 1:30 minute.
- Interviews
- Profile — one main character.
- Feature story — three supporting interviews is an optimum number.
- Don't promise anyone they will appear on video; eliminate an interview if it doesn't help communicate your message.
- Scripts
- Focus on EPA's role.
- Limit a video to no more than three key ideas.
General tips for Photographing Brownfields Projects
Prior to taking photographs
- Clean the lens of your camera. Use a lint-free cloth if available.
- Charge your battery before going to the site or filming location.
- Bring at least one secure digital (SD) card with enough memory; multiple SD cards are ideal.
- Choose the best orientation for your image: portrait or landscape. If possible, get far enough away to capture the entire property in a single shot.
- Change your camera setting to High Dynamic Range (HDR) if possible. HDR takes a series of photos and combines them to make a better shot, often increasing clarity in shadow and highlight areas.
Select the best time of day.
- Try shooting at different times — morning, sunset (the "golden hour"), early evening — to find the best lighting for your property. Avoid times of day with very bright sunlight when heavy shadows could make photos hard to capture.
- Exterior shots should take place during the best weather conditions. A beautiful sky can help make any property look nicer.
Be aware of surroundings.
- Avoid obstacles in your photos, such as telephone poles and wires, large vehicles, etc. Get closer or step to the side to remove those items from the frame.
- Avoid things sticking out of people's heads. (from Office of Multimedia guidelines)

Change your perspective.
- If you can't get high (as with a drone), get low. Get shots from different heights, angles, distances, and perspectives that show varied views of the property in its surroundings.
- Take close-ups: highlight the landscaping, sculpture, artwork, or architectural details.
- Don't always center the subject in the frame — use the rule of thirds to balance composition. This means place your subject in the left or right third of an image, leaving the other two thirds more open. Most smartphone cameras have a built-in grid as a guide. (from Office of Multimedia guidelines)
Go inside.
- If the site is a restaurant, shopping mall, hotel, or any other business, don't be afraid to take pictures inside. If possible, chat with the owner or manager on site. They may give you a tour of the space or be happy to let you roam and capture — if they know it's highlighting their project. Go during the day to use natural light.
- DO NOT go inside any vacant or abandoned properties for photos while alone, unguided or without permission, as it could be unsafe.

Avoid taking videos or photos involving children.
- Please keep children safe; avoid taking pictures or videos with children.
